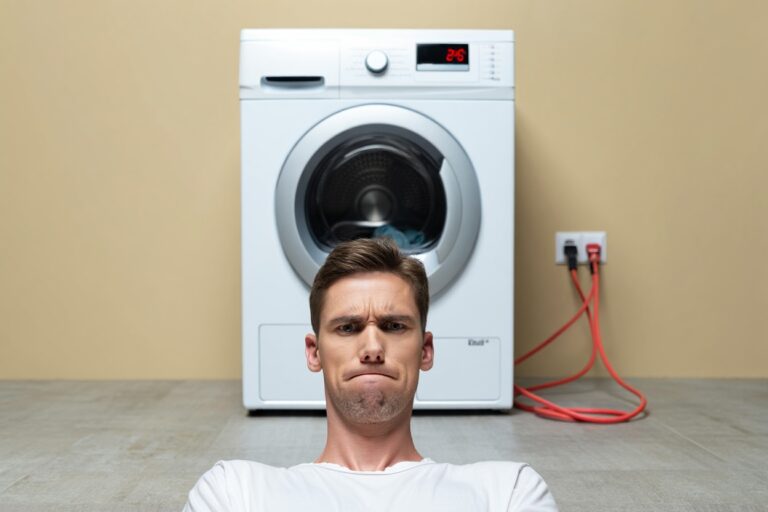
Did you know a single tiny component could be the reason your appliance suddenly stops working? Many homeowners assume their dryer needs professional help when it overheats or fails to start. But what if you could solve the problem yourself in under an hour?
Table of Contents
- Understanding the Role of Thermal Fuses in Dryers
- Diagnosing Issues with Your panda dryer thermal fuse
- DIY Step-by-Step Guide to Replace Your Dryer Thermal Fuse
- Conclusion
This guide focuses on restoring your machine’s safety features and efficiency through a simple DIY approach. You’ll learn how to diagnose issues related to critical parts without expensive service calls. By understanding how these components interact, you gain control over repairs and avoid future breakdowns.
Designed for clarity, each step breaks down the process of accessing and replacing the specific element causing trouble. Whether you’re troubleshooting unexpected shutdowns or aiming to extend your appliance’s lifespan, this method saves time and money. Let’s explore how to keep your laundry routine running smoothly.
Key Takeaways
- Identify overheating causes before they damage other components
- Use basic tools to safely access internal parts
- Avoid unnecessary costs with step-by-step diagnostics
- Learn how preventive maintenance reduces repair frequency
- Follow visual instructions for error-free reassembly
Understanding the Role of Thermal Fuses in Dryers
Appliances have built-in safeguards to prevent dangerous malfunctions. One such protector stops excessive heat buildup before it risks damage or fire. Knowing how this component works helps you troubleshoot issues faster and avoid unnecessary replacements.

What Is This Safety Component?
A thermal fuse acts like a circuit breaker for temperature control. When internal temperatures exceed safe limits, it cuts power to the heating element. Unlike resettable switches, it operates once and requires replacement after activation.
Why Do These Protectors Fail?
Blocked vents force hot air to linger, triggering the safety mechanism. Lint buildup around the heating system or faulty thermostats also strain the component. Electrical surges—common in older homes—can damage its wiring, mimicking other appliance issues like a broken motor.
Understanding these triggers helps you maintain related devices, such as ovens or HVAC systems. For example, watching a video on vent cleaning techniques improves airflow in multiple appliances. Addressing root causes extends your machine’s lifespan and reduces repair costs.
Diagnosing Issues with Your panda dryer thermal fuse
When your machine refuses to start or heats unevenly, the problem often lies in its protective systems. Pinpointing the exact cause requires methodical checks rather than guesswork. Start by ruling out simpler issues like power supply problems before diving into component testing.
Recognizing Warning Signs
A failed safety device often shows these clear signals:
- No response when pressing the start button
- Unusual burning smells during operation
- Cycling between overheating and sudden cooling
These symptoms suggest the safety mechanism has tripped. However, similar issues could stem from faulty thermostats or clogged vents. Always verify airflow first—a quick lint trap inspection takes two minutes.
Testing Connections and Circuits
Grab a multimeter to check continuity in critical components. Follow these steps:
- Unplug the appliance and locate the safety device
- Set your multimeter to measure resistance
- Touch probes to the component’s terminals
A reading of “infinite resistance” confirms failure. Pro tip: Examine nearby wiring for frayed insulation or loose connectors—these often mimic component failures.
“Misdiagnosed electrical issues account for 30% of unnecessary replacements,” notes appliance repair specialist Jamie Lowell. “Always test adjacent parts before declaring a component dead.”
Compare your findings with online tutorials—a short video demonstration clarifies complex steps. This approach also applies when troubleshooting other household systems, like an oven that won’t heat properly. Systematic checks prevent wasted time and money.
DIY Step-by-Step Guide to Replace Your Dryer Thermal Fuse
Repairing your appliance’s safety mechanism is simpler than most think—if you follow precise steps. With basic tools and attention to detail, you’ll restore functionality without risking further damage. Let’s break down the process into manageable stages.
Safety Precautions and Preparation
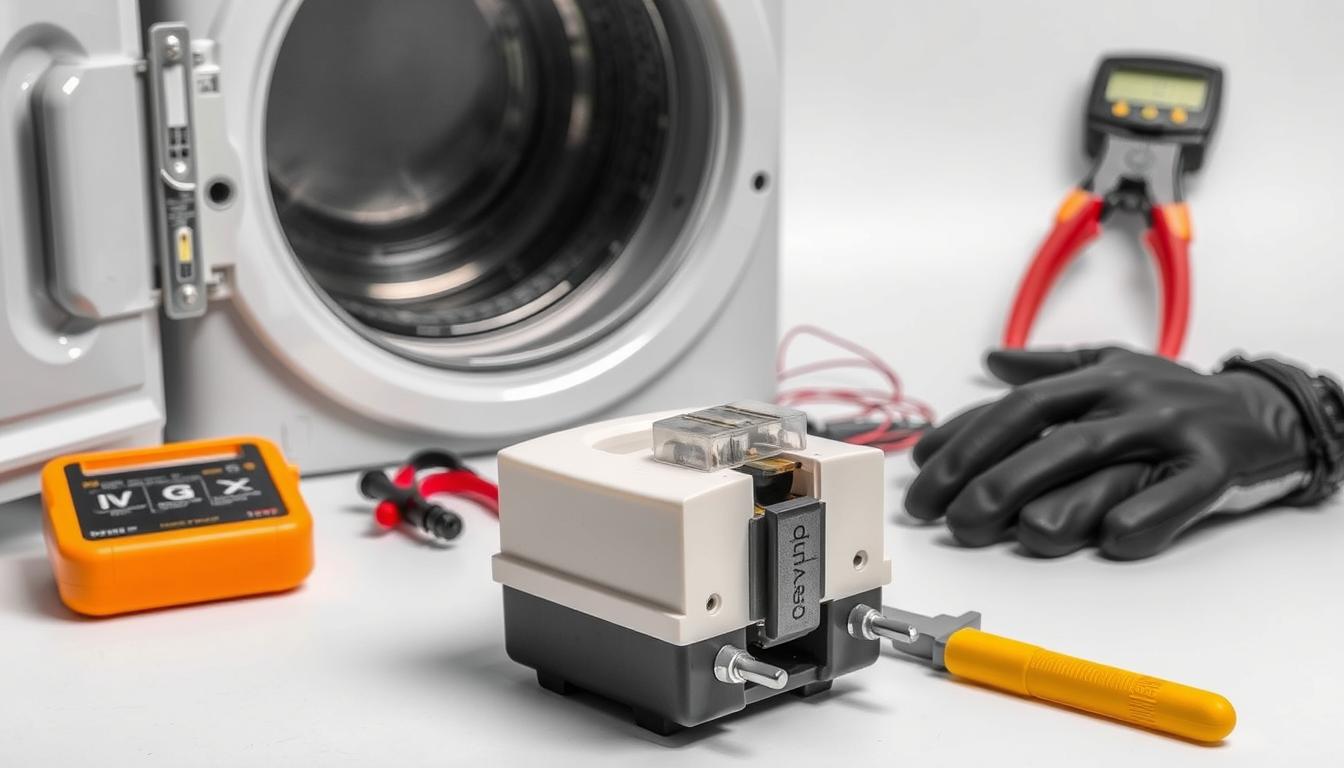
Always unplug the machine before starting. Gather these items:
- Insulated screwdrivers (flathead and Phillips)
- Multimeter for electrical testing
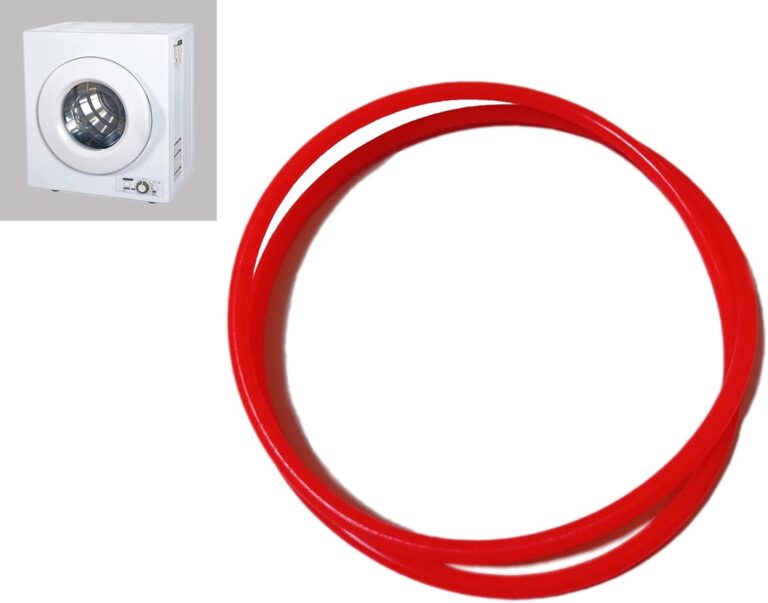
- Replacement fuse (model PAN725SF for 2.5kg units)
Confirm your replacement part matches the 12A rating specified for your model. Need a fuse holder? Contact support at [email protected]—these components ship free across the continental U.S. and Canada.
Disassembly and Removal Process
- Remove the back panel using a #2 screwdriver
- Locate the safety device near the heating element
- Check wire connections for corrosion or looseness
Use your multimeter to test the old component. If it shows no continuity, proceed with removal. Avoid forcing screws—stripped threads complicate reassembly.
Installing the New Thermal Fuse
Position the replacement part exactly as the original. Secure it with the existing screws, ensuring wires aren’t pinched. Reattach the panel and plug in the appliance.
“Test-run the machine empty for 10 minutes,” advises appliance technician Mara Reyes. “If the drum rotates and heat stabilizes, you’ve succeeded.”
Notice uneven heating? Review our troubleshooting video or inspect related parts like thermostats. This method also applies to oven repairs involving similar safety components.
Conclusion
Taking control of appliance repairs builds confidence and saves money. This guide showed how proper diagnosis and methodical steps restore your machine’s performance. You’ve learned to identify issues, test components, and replace critical safety parts safely.
Following these instructions helps avoid service fees while extending your appliance’s lifespan. Review each step carefully—visual video guides clarify complex tasks if needed. Understanding how each element works together prevents future breakdowns and improves maintenance habits.
Always prioritize safety: unplug devices before repairs and use manufacturer-approved parts. Genuine components ensure proper heat regulation and electrical compatibility. These practices apply to other home systems too, like an oven with similar safety mechanisms.
With this knowledge, you’re equipped to handle overheating issues efficiently. Tackle repairs confidently, knowing you’ve mastered essential troubleshooting skills. Your laundry routine stays smooth, and your wallet stays full.
FAQ
How do I know if my appliance’s safety device needs replacement?
If your machine stops heating, won’t start, or shuts off mid-cycle, it might indicate a failed component. Overheating due to blocked vents or faulty thermostats are common triggers. Always unplug the unit before inspecting.
Can I test the part without professional help?
Yes. Use a multimeter to check for continuity. If there’s no electrical flow, the safety mechanism has likely blown. Tutorial videos from brands like Whirlpool or Maytag can guide you through this process.
What tools are needed to install a new heating element protector?
You’ll need screwdrivers, needle-nose pliers, and a multimeter. For gas models, ensure the gas line is shut off. Refer to your unit’s manual for brand-specific disassembly steps to avoid damaging wiring.
Are replacement parts compatible across different brands?
No. Components like fuses or heating elements vary by make and model. Check your appliance’s specifications or consult retailers like GE Appliances or Samsung for exact matches. Using incorrect parts risks further damage.
Why does my machine’s interior overheat even after repairs?
Persistent overheating often points to clogged lint filters, blocked exhaust ducts, or malfunctioning thermostats. Clean vents thoroughly and test secondary sensors. If issues continue, consult a certified technician.