How to Clean Your Dryer Lint Trap
Table of Contents
- How to Clean Your Dryer Lint Trap
- Why Cleaning Your Dryer Lint Trap Is Critical
- How Often Should You Clean Your Dryer Lint Trap?
- The Step-by-Step Guide on How to Clean Dryer Lint Trap
- Tools That Make Lint Trap Cleaning Easier
- Signs Your Lint Trap Needs Immediate Attention
- Beyond the Lint Trap: Complete Dryer Maintenance
- Troubleshooting Common Lint Trap Issues
- Preventing Excessive Lint Buildup in Your Dryer
- Comparing Different Dryer Models and Their Lint Trap Designs
- Conclusion: Keeping Your Home Safe with Regular Lint Trap Maintenance
Did you know a clogged lint trap could be hiding a fire hazard in your laundry room?
Your dryer’s lint trap is more than just a small metal tray—it’s the first line of defense against costly repairs and safety risks. Every time you run a cycle, tiny fibers build up here, slowing drying times and stressing your appliance. This guide breaks down the simple steps to master how to clean dryer lint trap properly, ensuring your machine runs safely and efficiently.
Key Takeaways
- Dirty lint traps are linked to 17,000+ home fires annually in the U.S., per the NFPA.
- Regular cleaning cuts drying times by up to 30%, saving energy costs.
- Neglecting this task can void manufacturer warranties on dryers like Whirlpool or LG.
- Five minutes of weekly care prevents mold growth in vents and hoses.
- Proper maintenance extends dryer lifespan by 2-4 years on average.
Why Cleaning Your Dryer Lint Trap Is Critical
Regular dryer maintenance is not just a chore. It’s a safety and cost-saving priority. Ignoring this task can lead to dangerous consequences and hidden expenses. Here’s why it matters most:
Fire Prevention: The #1 Reason to Clean Your Lint Trap
Lint is highly flammable, and blocked airflow creates heat buildup. The US Fire Administration reports over 15,000 dryer fires annually in the U.S., many caused by neglected lint traps. Removing lint regularly is your first defense against disaster.
“Over 30% of dryer fires involve failure to clean lint screens.” — National Fire Protection Association
Energy Efficiency Benefits
A clogged trap forces your dryer to run longer cycles. This strains motors and heating elements, driving up energy bills. Regular cleaning ensures optimal airflow, reducing electricity use by up to 20%. Simple dryer maintenance saves money without costly upgrades.
Extending Your Dryer’s Lifespan
Lint buildup stresses internal components. Over time, blocked vents and motors work overtime, leading to costly repairs. Regular cleaning prevents premature wear, potentially doubling your dryer’s service life. Small steps in dryer maintenance mean avoiding early replacements.
How Often Should You Clean Your Dryer Lint Trap?
After every load of laundry, make sure to empty the lint trap completely. This is the key to lint trap cleaning tips. Even small bits left behind can slow drying times and increase fire risks.

For deeper cleaning, scrub the trap weekly if you wash heavy loads, have pets, or dry lint-prone fabrics like towels. For lighter use, monthly deep cleaning with soap and a soft brush is enough. Here’s how to tailor your routine:
- Household size: More laundry means more frequent checks. A family of four needs to clean daily than a single person.
- Pet hair: Furry friends shed, so wipe the trap weekly with a damp cloth.
- Seasonal changes: In winter, flannel and heavy fabrics trap more lint. Add extra checks during colder months.
“Ignoring lint buildup is like inviting a fire hazard into your home,” says the National Fire Protection Association. “A minute spent cleaning saves hours of trouble later.”
Adjust your schedule based on visible lint levels. If your dryer takes longer to dry, it’s time for a deep clean. These lint trap cleaning tips ensure your appliance stays safe and efficient year-round.
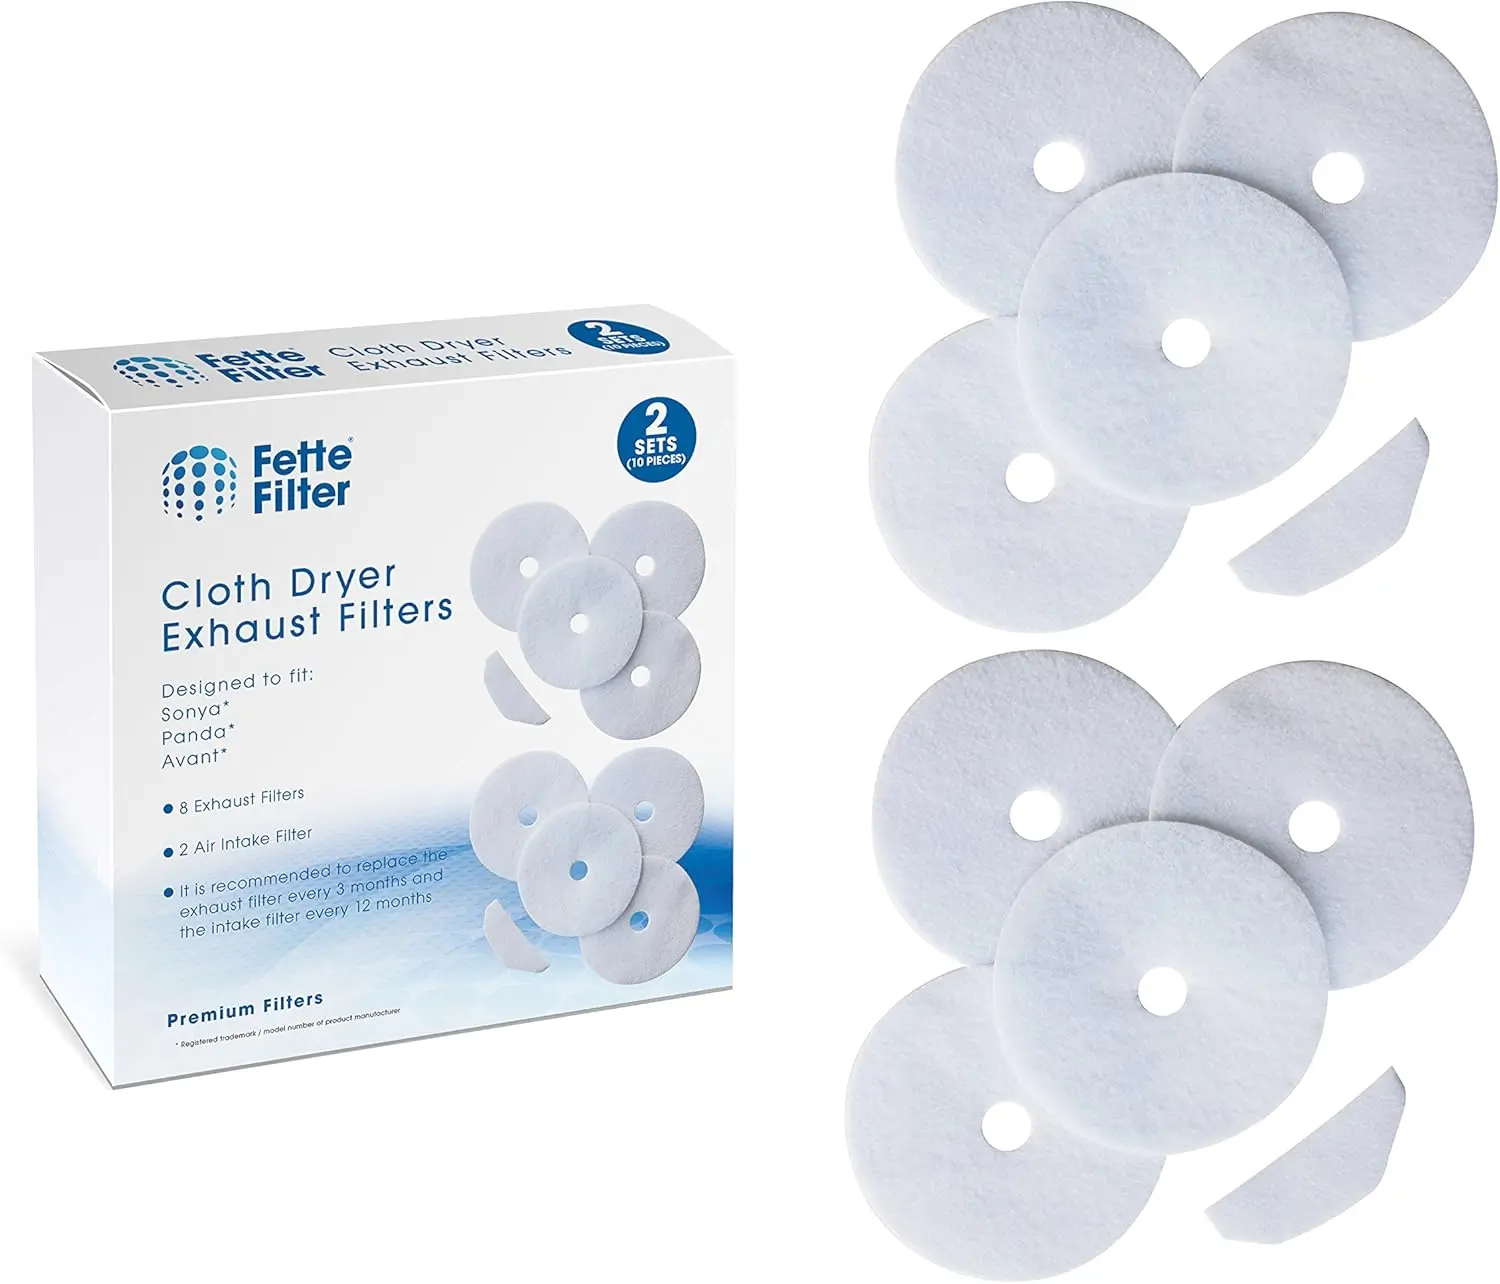
Dryer FILTER
Fette Filter – Cloth Dryer Filters Compatible with Sonya, Panda, Avant, Magic Chef Dryers – Multi Pack (Pack of 8)
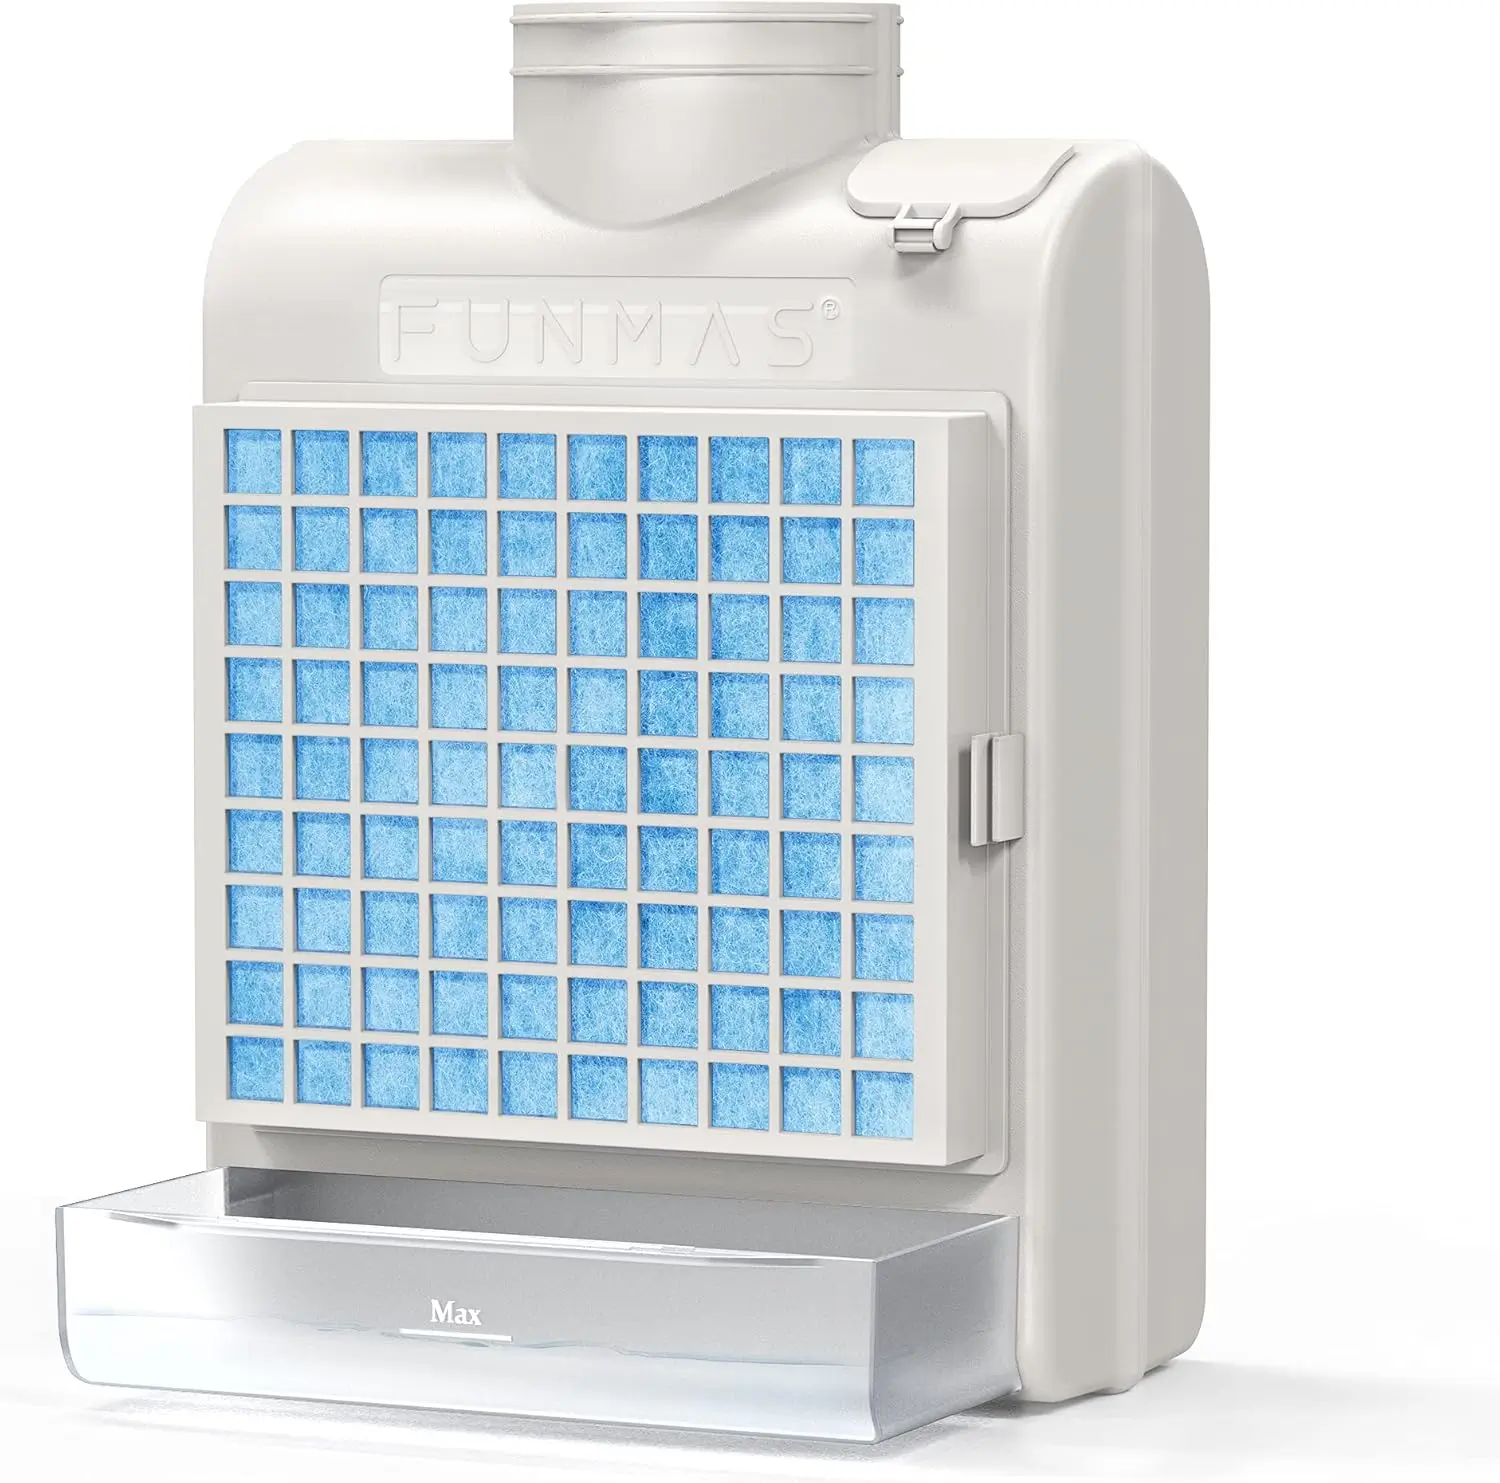
Indoor Dryer Vent
Stainless Steel Screen Filter, Polyester Filter and Water Drawer System
The Step-by-Step Guide on How to Clean Dryer Lint Trap
Regular dryer lint removal keeps your appliance running smoothly. Follow these simple steps to tackle the task effectively:
After every load, start with quick surface cleaning. Remove the lint screen and gently scrape off visible lint with your fingers or a cloth. Toss the debris into the trash—never the sink—to avoid clogs.
Removing Surface Lint After Each Load
- Unlatch the lint trap and pull it straight out.
- Pat the mesh screen with a dry towel to collect loose particles.
- Tap the edges against a trash can to dislodge stubborn clumps.
Deep Cleaning Your Lint Trap
Monthly deep cleaning prevents hidden buildup. Wash the screen in warm soapy water for 5 minutes. Use a soft-bristled brush (like a toothbrush) to scrub grooves. Wipe the dryer’s lint trap housing with a damp cloth and vinegar spray to eliminate residue. Avoid abrasive tools that might bend the mesh.
Drying and Reinstalling Your Lint Screen
Shake excess water from the screen and let it air-dry completely. Moisture trapped inside can foster mold. Slide it back into place only after it’s bone-dry, ensuring the alignment tabs snap securely into place.
Tools That Make Lint Trap Cleaning Easier
Keeping your dryer’s lint trap clean is simpler with the right tools. Let’s explore options that make this chore faster and more effective.

Lint Trap Brushes and Their Benefits
A lint trap brush has soft bristles to clean away tough lint without damaging surfaces. Brands like OXO Good Grips have ergonomic handles for a better grip. These brushes get into tight spots where your fingers can’t, making sure no lint is missed.
Vacuum Attachments for Thorough Cleaning
A lint trap vacuum attachment, like Dyson’s crevice tool, picks up dust in tight spots. Use it carefully to avoid damaging your lint screen’s metal mesh. Vacuum attachments are great for a quick, mess-free clean after a deep clean.
DIY Cleaning Tools from Household Items
- Pipe cleaners: Twist into corners to dislodge lint.
- Old toothbrush: Dip in warm soapy water to scrub screens.
- Stiff cardboard: Scrape off hardened lint before washing.
| Tool Type | Pros | Cons | Best For |
|---|---|---|---|
| Lint Trap Brush | Soft bristles, no damage | May require elbow grease | Regular maintenance |
| Vacuum Attachment | Quick cleanup, mess-free | May need existing vacuum | Post-wash drying |
| DIY Tools | Budget-friendly, accessible | Potentially less effective | Emergency fixes |
Signs Your Lint Trap Needs Immediate Attention
Regular dryer maintenance keeps your appliance safe. But some warning signs mean you need to act fast. Don’t ignore these red flags:
- Clothes stay damp or take twice as long to dry.
- Exterior feels scorching to the touch.
- Burning plastic or fabric smell during cycles.
- Lint clings to garments post-cycle.
- Laundry room feels steamy after runs.
- Machine halts mid-cycle with error codes.
| Sign | Problem | Fix |
|---|---|---|
| Slow drying | Lint clogs airflow | Scrape trap with a brush |
| Heat buildup | Blocked exhaust | Unplug and clean vent |
| Burning smells | Lint ignition risk | Empty lint trap and vent |
| Lint on clothes | Cracked trap | Replace screen and clean vents |
| Humid laundry room | Exhaust blockage | Clear vent pipe with a vacuum |
| Mid-cycle shutdowns | Overheating sensors | Run empty cycle after cleaning |
Spotting these signs? Stop use immediately. Follow lint trap cleaning tips to clear buildup. Ignoring these warnings risks fires or costly repairs. Trust your senses—act fast to stay safe.
Beyond the Lint Trap: Complete Dryer Maintenance
Regular dryer maintenance keeps your appliance safe and efficient. Start with cleaning the lint trap and then add these key steps to your routine.
Cleaning the Dryer Vent and Exhaust System
Even with clean lint traps, clogged vents can be dangerous. Clean your dryer vent systems twice a year. Use a vent brush kit to clean the vent pipe from the dryer to the outside vent.
First, remove the vent hose. Then, run the brush through the entire length. If the vent is blocked by bird nests or is hard to reach, call a professional.
Inspecting Other Dryer Components
During your dryer maintenance routine, check these parts:
- Drum seals: Wipe behind the door to remove trapped lint.
- Heating elements: Look for visible debris near the heating coils.
- Moisture sensors: Clean sensors with a microfiber cloth to prevent false shutdowns.
When to Call a Professional
Get professional help if:
- Your dryer takes longer than 90 minutes to dry clothes.
- You notice burning smells or loud grinding noises.
- Vents are corroded or have physical damage.
Professional vent cleaning costs average $80–$150, depending on vent length and home layout.
Troubleshooting Common Lint Trap Issues
If your lint trap isn’t working right, these fixes can help. We’ll cover four common problems with easy household cleaning tips and tools.
| Problem | Fix |
|---|---|
| Torn Lint Screen | Secure tears with duct tape. Replace with an OEM part (e.g., Whirlpool or LG brand screens). |
| Lint Stuck in Vent Housing | Use a vacuum’s crevice tool. Wipe crevices with a damp cloth for full dryer lint removal. |
| Greasy Residue | Scrub with a baking soda-water paste. Switch to wool dryer balls to cut residue buildup. |
| Warped or Loose Trap | Check for bends. Lubricate hinges with silicone spray. Replace if misaligned. |
For serious warping, get an appliance repair service. Always unplug the dryer before working on it. Small fixes now can save you big money later. Regular checks keep your dryer safe and efficient.
Preventing Excessive Lint Buildup in Your Dryer
Keeping your dryer lint-free starts with simple choices. Changing what you wear and how you wash can cut down on lint. These steps, along with regular dryer maintenance, help your dryer run better.

Clothing and Fabric Choices That Reduce Lint
- Natural fibers like cotton shed more than synthetics. Opt for polyester blends or microfiber to reduce lint production.
- New garments shed up to 30% more lint initially. Wash new clothes separately before mixing with other laundry.
- Avoid mixing heavy lint producers like towels with delicate fabrics to prevent cross-contamination.
Laundry Habits That Minimize Lint Production
- Inspect pockets before washing to remove paper or small items that break down into lint.
- Run shorter drying cycles – over-drying wears fibers loose. Use moisture sensors on modern dryers for efficiency.
- Wash lint-prone items like fleece separately. Air-dry towels and fuzzy fabrics to cut dryer exposure.
Small changes like sorting laundry and avoiding fabric softener sheets help a lot. Add these to regular lint trap cleaning tips for better airflow and safety. Over time, these habits make dryer maintenance easier.
Comparing Different Dryer Models and Their Lint Trap Designs
Not all dryer lint traps are the same. Knowing how your model’s design affects cleaning is key. This helps you stay safe and efficient. Let’s look at the main differences and special care tips for each brand.
Top-Loading vs. Front-Loading Lint Traps
Top-loading lint traps are on the dryer’s top, making them easy to get to. Front-loading traps need you to open the door, which can hide lint. Use a small brush from your household cleaning tips toolkit to clean tight spots in front models.
- Top-Loading: Quick access but collects lint faster.
- Front-Loading: Less visible but easier to clean with angled designs.
Brand-Specific Cleaning Recommendations
| Brand | Model Example | Design Feature | Cleaning Tip |
|---|---|---|---|
| Whirlpool | WED97HEBW | Sliding tray with grooves | Rinse weekly with warm water to remove trapped particles. |
| Samsung | WE55K6500AV | Flip-up panel | Use a vacuum attachment for crevices before wiping. |
| LG | LMW2697W | Detachable screen | Soak in vinegar solution monthly to dissolve buildup. |
| Maytag | MDW8400FW | Ribbed surface | Scrub ribs with a toothbrush to avoid missed spots. |
| GE | GTD525SPAHH | Compact design | Check the lint trap after every load to prevent clogs. |
Always check your manual for specific cleaning steps for your model. Regular checks save energy and lower fire risks. Remember, adding these steps to your household cleaning tips checklist can give you peace of mind.
Conclusion: Keeping Your Home Safe with Regular Lint Trap Maintenance
Keeping your dryer in good shape is crucial for home safety. Cleaning the lint trap after each use and deep-cleaning it once a month helps a lot. Using a brush or vacuum attachment can make a big difference.
Ignoring this can harm your appliance and cost you money. Dryer fires often start from blocked vents and ignored lint buildup. Taking just five minutes a week to clean your trap can extend your appliance’s life.
Follow the guide’s tips to avoid overloading your dryer and choose fabrics that produce less lint. These small actions can greatly reduce fire risks and lower your utility bills.
Share this guide with your family and neighbors. Many people forget about these important steps. But by spreading the word, we can all stay safer.
Set a reminder on your calendar to check your lint trap every week. A clean dryer is not just efficient; it’s a safety measure for your home. Make these simple steps a part of your laundry routine to keep it safe and worry-free.
FAQ
How do I clean my dryer lint trap?
First, take out the lint screen from your dryer. Use your fingers to remove the lint. It’s best to do this after every load.
For a deeper clean, wash the screen with mild soap and water. Gently scrub it with a soft brush if needed. Make sure it’s dry before putting it back in the dryer.
Why is cleaning the lint trap important?
Cleaning the lint trap is key for several reasons. It lowers the risk of dryer fires and boosts energy efficiency. It also makes your dryer last longer.
Ignoring the lint trap can raise your utility bills and lead to expensive repairs.
How often should I clean the lint trap?
Remove surface lint after every load. Do a deeper clean weekly or monthly, based on your household size and laundry types. If you have pets, clean more often due to hair buildup.
What tools can help make cleaning easier?
Tools like a lint trap brush and vacuum attachment can make cleaning easier. For a budget-friendly option, use a pipe cleaner or old toothbrush.
What signs indicate my lint trap needs cleaning?
Signs include clothes taking longer to dry, the dryer being too hot, or a burning smell. Also, lint on clothes after drying or increased laundry room humidity means it’s time to clean.
How can I prevent excessive lint buildup?
Choose clothes wisely—natural fibers produce more lint. Empty pockets before washing and use the right wash cycles. Also, ensure good airflow during drying.
Are there differences in lint trap designs across dryer models?
Yes, designs vary between top-loading and front-loading dryers. Top-loaders have the lint trap on the top panel, while front-loaders have it inside the door. Always check your user manual for specific cleaning tips.
When should I call a professional for dryer maintenance?
Call a professional if you have ongoing issues like unusual noises or the dryer not starting. They can handle complex problems, including vent issues that cause lint buildup.